weld stainless steel with mild steel may seem impossible to the amateur welder, given their vastly different properties, but it is certainly achievable with the proper techniques. While welding stainless steel to mild steel brings inherent challenges, understanding the intricacies of welding dissimilar metals unlocks new project possibilities.
Is it possible to weld stainless steel with mild steel? How. While their different properties pose challenges, the answer is yes. Factors like thermal expansion mismatch and carbon migration must be addressed to succeed. Proper joint design, material preparation, filler metal selection, and welding process allow for quality welds.
This comprehensive guide delves into the necessary preparations, recommended methods, proper materials, joint design considerations, and expert troubleshooting tips for a lasting stainless-to-mild steel weld. Read on to unlock the full potential of mixing your favorite alloys!
Demystifying the Stainless Steel to Mild Steel Welding Process
Before sparking up your welder, understanding what makes stainless steel and mild steel distinct is vital to success.
Stainless steel lives up to its name with excellent corrosion resistance thanks to added chromium and nickel alloying elements. However, it comes at the cost of reduced high-temperature strength and weldability.
Mild steel possesses higher strength and ease of welding but quickly corrodes without protective finishes. Its affordability makes it popular for industrial and construction applications.
Welding these very different metals requires reconciling their divergent properties.
Why weld them together?
With such dissimilar natures, you may wonder why anyone would attempt to join them. Some common motivations include:
- Cost Savings: Using stainless steel only where needed lowers material costs
- Best of Both: Combine desirable traits like strength and corrosion resistance
- Part Availability: Utilize existing stainless or mild steel components
- Appearance: Mix attractive stainless steel with affordable mild steel
Whatever drives your project, the ability to weld stainless steel to mild steel unlocks more design flexibility.
Challenges When Welding Stainless Steel to Mild Steel
Simply touching the two alloys together does not make them hold fast. Several hurdles stand in the way of making this simple weld:
- Thermal Expansion: Stainless steel expands less than mild steel upon heating, resulting in internal stresses.
- Corrosion Resistance: Dissimilar corrosion rates can lead to galvanic corrosion over time.
- Carbon Migration: Carbon from mild steel migrates across the weld into the stainless steel alloy.
- Cracking: Brittle intermetallic phases form from mixing the alloys, causing weld cracking.
- Post-Weld Cleanup: Stainless steel must remove flux residues to retain corrosion resistance.
Thankfully, various methods exist to counteract these roadblocks.
Fundamental Welding Methods for Joining Stainless Steel to Mild Steel
Before delving into process specifics, two primary welding processes suit stainless to mild steel projects:
MIG Welding Stainless to Mild Steel
MIG (metal inert gas) welding remains a popular choice for a good reason: it enables high welding rates with easy automation and a wide range of material compatibility for mild welding.
How it Works – A constant feed of filler metal wire syncs with electrical arc melting to fuse materials under an inert gas shield.
Benefits:
- All-position welding
- Higher deposition rates
- Easier automation
Drawbacks:
- Limited thickness range
- Additional post-weld cleanup
MIG suits small-scale jobs, such as welding stainless steel to mild steel.
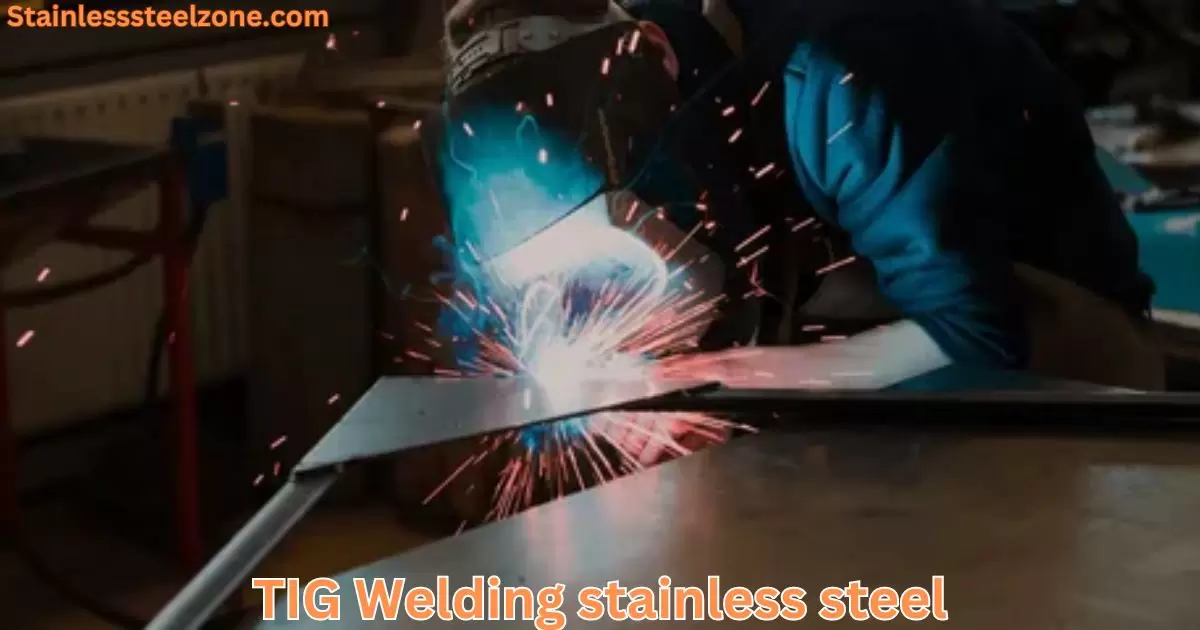
TIG Welding Stainless Steel to Mild Steel
TIG (tungsten inert gas) welding promotes the highest quality controlled welds thanks to independent control of heat input and filler metal addition.
How it Works – An arc generated from a tungsten electrode locally melts materials while manually adding filler metal to protect it from contamination.
Benefits:
- Excellent weld appearance and strength
- Ability to weld thin material
- Low distortion or spatter
Drawbacks:
- Slower process requiring highly skilled welder
- Fewer penetration capabilities
Despite its slower pace, TIG welding’s precision lends well to stainless to mild steel welds.
MIG and TIG welding can produce excellent stainless to mild steel welds with the proper considerations.
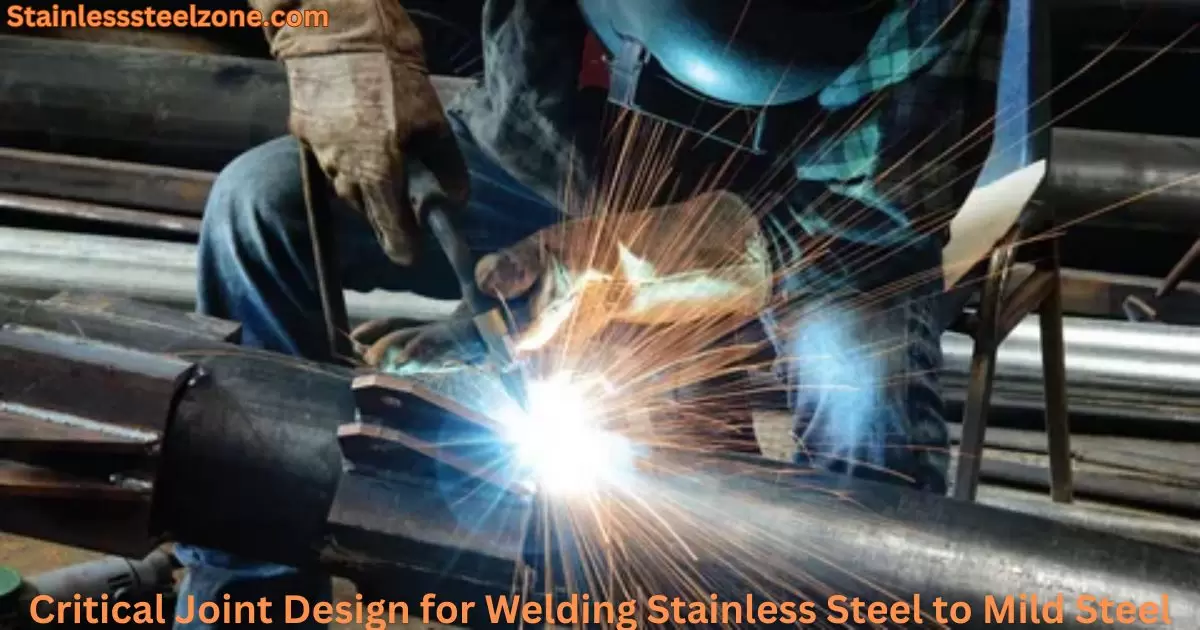
Critical Joint Design for Welding Stainless Steel to Mild Steel
Simply slapping your metals together haphazardly asks for trouble down the road. Intelligent joint design sets up welding success by accounting for the quirks of mixing stainless and mild steel.
Proper Fit-Up: Materials must be snorted together without gaps before welding to prevent cracking from heat and contraction stresses. Continuously support parts along the joint line.
Allow for Thermal Expansion: Enable sliding movement parallel to the weld line to prevent buckling or cracking as the stainless steel expands less than the mild steel.
The proper joint design allows for thermal expansion.
Prevent Internal Stresses: Avoid rigid cross-sections that introduce internal stresses leading to fracture. Include coped holes or slots to reduce stress risers.
Include Backup Strips: Use copper or stainless steel strips to conduct heat and provide structure. This prevents carbon migration while combating differences in strength.
In summary:
DO:
- Allow longitudinal movement
- Include slots/coped holes
- Use backup strips
- Continuously support
DON’T:
- Rigidly constrain joint
- Allow gaps in fit-up
- Weld thick to thin sections
Mimicking a high-quality pressure vessel joint design allows the stainless steel and mild steel to cooperate when the heat is turned on.
Step-By-Step Guide to MIG Welding Stainless Steel to Mild Steel
Understanding the intricacies of welding dissimilar metals prepares you for success. Put that knowledge into practice by following this start-to-finish guide to weld regular steel to mild steel:
Step 1: Prepare Your Metals
Proper preparation must be noticed; about 60% of weld failures originate from poor base material preparation. Thoroughly clean and grind the joint area to expose bright white metal before welding stainless steel to mild steel.
Degrease: Use acetone to remove all residual oil, grease, or lubricants
Grind: grind away coatings using 40-grit metal grinding disc to expose bare metal
Clean: Wipe down metals with acetone-dampened cloth after grinding
Proper metal preparation drastically reduces the likelihood of weld contamination and rejection.
Step 2: Set Up Your MIG Welder
With clean metals prepped, dial in your MIG welder settings for stainless steel to mild steel.
Select Suitable Filler Metal: Use 309L filler that resists corrosion and handles high temperatures.
Establish Proper proper machine Settings: Set voltage around 28–32V with wire speed at 400 pm as a starting point.
Setup Gas Flow: Ensure adequate flow purge of inert shielding gas (argon + 2% oxygen works well).
Pay attention to the importance of proper machine setup; incorrect configurations lead to immediate weld failures.
Step 3: Lay Down Your Weld
With your materials and machine prepped, it comes time to lay down weld metal, joining the dissimilar stainless steel and mild steel.
Maintain Proper Technique Keep a consistent torch angle and travel speed while maintaining a 0.75″ contact tip to work distance. Utilize the backstepping technique at the end of each weld pass.
Prevent Excess Heat Buildup: Clamp copper heat sinks near the weld zone to conduct heat away and minimize distortion.
Use Stringer Beads: Employ successive stringer welds rather than weaving for the highest quality welds.
With proper welding techniques, you can avoid excess heat input, leading to many defects.
Step 4: Post-Weld Treatment
You welded your dissimilar metals, but a few final post-weld steps ensure longevity:
Thoroughly Remove Flux: Wire brush welds with a stainless steel bristle brush, then wipe down with an acetone-dampened rag to dissolve any hidden flux.
Visually inspect: check for surface defects like cracks, porosity, or pitting along the weld seam.
Test Weld Strength: Bend test samples to validate sufficient joint penetration and fusion.
Following post-weld best practices prevents premature corrosion-induced failure.
And that wraps up the start-to-finish process for MIG welding stainless steel to mild steel!
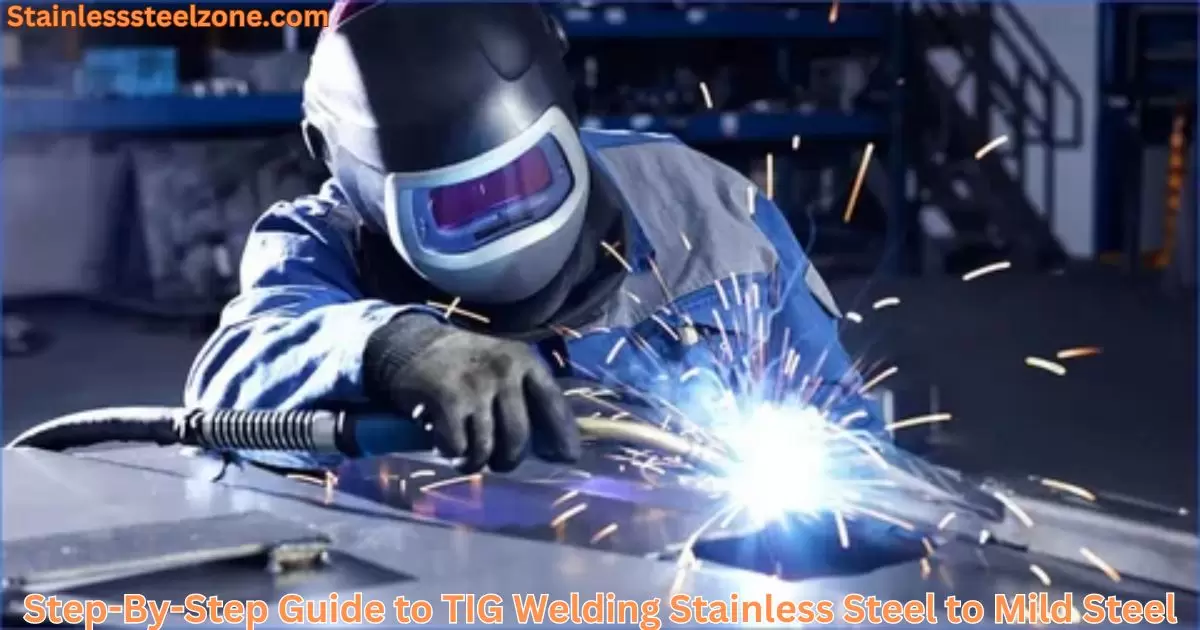
Step-By-Step Guide to TIG Welding Stainless Steel to Mild Steel
Do you prefer to slow things down with more control? TIG welding stainless steel to mild steel allows exceptional precision for the highest quality welds.
Step Description
1. Prepare and Fit-Up Joints • Remove coatings, oils, and paints with solvents and abrasives
• Materials must match closely without gaps
• Continuously support along the joint line
2. Select Suitable Materials • Filler – Use 309L rod
• Tungsten – Thoriated or lanthanide
• Shielding Gas – High purity argon
3. Fit Up TIG Torch • Get comfortable in the working position
• Clamp down torch holder
• Have a 309-liter filler rod ready to add
4. Lay Down Your Weld • Initiate the arc and lightly contact the metal
• Dip filler rod into the weld pool
• Weld in sections, allowing cooling
5. Post-Weld Treatment: Allow slow cooling with insulation
• Fully remove heat tint
• Visually inspect welds thoroughly
Pro Tips and Troubleshooting Guide
Even with the proper preparation and welding method, stainless steel to mild steel welds bring the risk of defects. Lean on these professional tips to prevent headaches:
Match Strength Levels: Choose compatible grades/thicknesses of stainless steel and mild steel base material strength. Mixing widely dissimilar strength levels risks fracture.
Preheat Properly: Bring materials up to 500°F+ before welding to reduce thermal gradients, minimizing cracking.
Use copper backing. Copper strips or blocks conduct heat while preventing carbon migration into the stainless steel.
Peen Thoroughly – Hammer peen welds while still hot to relieve residual stresses, then repeat after cooling to finished size to refine grain structure.
Check Settings – If experiencing excess spatter, reduce voltage by 2 V and increase wire feed speed.
Use pulse MIG. Pulsing allows heat control for thinner material while achieving deeper weld penetration.
And if you still run into weld problems…
Common Defects Troubleshooting
Even seasoned veterans mess up welds. Review these common stainless steel to mild steel weld defects and their remedies:
Porosity: caused by gas contamination, moisture, or dirt. Prevent through joint cleaning and gas flow calibration.
Cracking: results from improper joint design, thermal stresses, or contamination. Ensure communal accommodation for expansion and use preheat.
Lack of Fusion: due to poor fit-up, incorrect welding parameters, or technique. Fit joints tightly while tuning settings.
Corrosion: Quick corrosion onset indicates improper post-weld flux removal or contamination.
Troubleshooting Guide
| Issue | Solution |
|---|---|
| ASR/RST Error Code | Reset the base
5
|
| No power/LED off | Control box may be damaged, contact support
5
|
| E07/E08/E09 Error Code | 1. Reset base 2. Swap connecting cables 3. Contact support
5
|
| Legs not moving uniformly | 1. Reset base 2. Swap connecting cables 3. Contact support
5
|
| Worksurface overhang > 1.25 inches | Reduce overhang to under 1.25 inches
5
|
Best Practices for Maximizing Stainless Steel to Mild Steel Weld Longevity
Successfully joining stainless steel to mild steel only proves worthwhile if the joint withstands the test of time. Employ these pro tips to maximize weld longevity and prevent premature failures:
Post-Weld Stress Relief: Heat the entire assembly uniformly to 1300°F for one hour per inch, followed by slow cooling. This reduces residual stresses, promoting crack resistance.
Use Low Heat Input: Minimize heat input during welding to restrict grain growth that is susceptible to corrosion. Use the lowest feasible amperage and avoid weaving.
Apply protective coatings. Seal mild steel with an epoxy or urethane coating to provide a supplemental corrosion barrier.
Routinely check for corrosion. Periodically examine welds for the onset of corrosion. Catch it early and reapply protective treatments before section loss occurs.
Avoid Exposure to Chlorides – Prevent chloride solutions like salts and acidic cleaners from contacting welds to stave off crevices and pit corrosion.
Proactively planning for corrosion prevention saves significant headaches down the road.
FAQ’s:
- What types of stainless steel alloys work best for welding to mild steel?
Austenitic stainless steel varieties like 304, 316, 309, and 308L provide good compatibility and weldability to mild steel. Match the mild steel strength level to stainless grade.
- Can you MIG weld stainless to mild steel without a filler rod?
While possible without filler, adding a compatible rod (309L) prevents corrosion and dilution issues for the highest-quality welds.
- Is preheating necessary for thin stainless/mild steel welds?
Yes, even thin sections under 1⁄4″ thick still benefit from 250°F+ preheat to prevent cracking from rapid cooling.
What causes porosity when welding stainless steel to mild steel?
Trapped shielding gas, moisture contamination, dirt/oils, or over-voltage leads to porous welds. Prevent by joint cleaning and gas flow tuning.
Conclusion:
Joining dissimilar stainless steel and mild steel metals unlocks game-changing design potential thanks to blending corrosion resistance, weldability, and cost savings. Yet this newfound power only lasts by respecting the intricacies of alloy mixing through proper joint accommodation, welding process selection, filler metal choices, and corrosion prevention.
While no short order, arming yourself with the comprehensive guidance herein paves the way to execute this challenging – but rewarding – welding operation confidently and successfully. The next time a project calls for melding stainless steel’s resilience with mild steel’s strength, you now hold the keys to unlock this powerful alloy pairing. Turn the page and begin writing your story of creative design and skilled craftsmanship. Your imagination is currently the only limit when welding stainless steel to mild steel.


